Foot reflexology chart reading and safety
How to Read a Foot Reflexology Chart: A Professional, Safety-Led Guide
Learn how to read a foot reflexology chart, compare left and right feet, use zones safely, and avoid diagnostic mistakes.
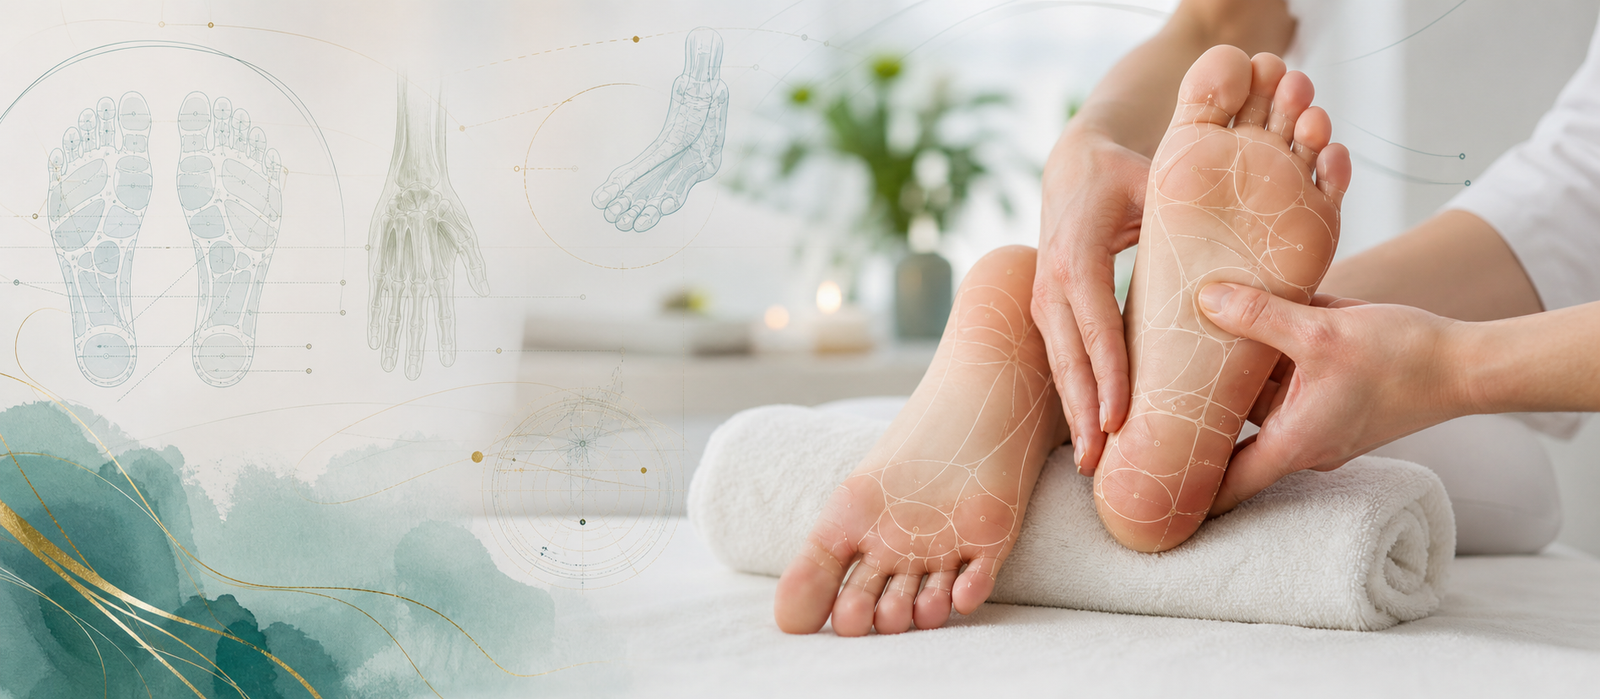
Foot Reflexology Chart: What to Know
Readers usually want to know what a chart means, why left and right feet differ, and whether a sore point reveals something about the body. This guide teaches chart reading as a practical therapeutic language, not as a diagnostic shortcut.
A foot reflexology chart is a traditional visual map that helps a reader organize the sole into zones, regions, and session pathways. The practical goal is to understand where the method may fit, what it cannot prove, and when pressure on the feet should be avoided.
For foot reflexology chart, this guide uses traditional reflexology language where it helps explain the practice, then checks that language against current research and ordinary foot-care safety. It describes realistic uses, avoids cure claims, and places consent, screening, and referral before technique.
Table of Contents
What This Topic Really Means
The useful starting point is to separate the reader's goal from the claims sometimes attached to reflexology. For this topic, the practical use cases are learning the basic map, planning a beginner routine, training students, checking pressure zones, and explaining reflexology to clients. Those goals are reasonable when the language stays focused on comfort, relaxation, education, and session design.
The mistake is to jump from a traditional map to a medical conclusion. Read the chart from broad to specific: toes, ball, arch, lower arch, and heel first; medial and lateral zones second; named reflex points last. That map can help a practitioner create a consistent sequence, but it cannot diagnose disease, prove organ dysfunction, or replace an examination.
Two questions keep foot reflexology chart useful and honest: how can a careful practitioner or self-care reader use the method, and what boundary prevents a traditional idea from becoming a medical claim? The first question guides the session; the second protects the reader.
Method, Maps, and Technique
The core techniques for this page are orienting the left and right foot, reading horizontal bands, adding vertical zones, using gentle test pressure, and recording responses without diagnosis. They should be taught from broad to specific. Broad contact warms the foot and gives the client time to settle. Focused pressure comes later, only after the reader understands the goal, the tissue response, and the pressure scale.
For foot reflexology chart, a useful pressure scale runs from 1 to 10. A 1 to 3 feels light and calming, a 4 to 6 is a moderate working range for many healthy adults, and anything above that should be treated with caution. More pressure is not more professional; it is only more force.
A professional chart explanation should include orientation, pressure scale, client feedback, notes on variation between schools, and clear referral language. This is especially important online because a reader may copy the routine at home without a teacher watching their body mechanics, pressure, or foot condition.
Benefits and Best Uses
The best uses are practical rather than dramatic. A reader can use foot reflexology chart to plan a relaxation session, understand a professional service, choose the next page in the cluster, or build a safer home routine. The benefit is the combination of touch, attention, pacing, and clear boundaries.
For readers exploring foot reflexology chart, the immediate value is often a better decision rather than a medical outcome. They learn when a relaxation session is enough, when a map adds structure, when symptoms require referral, and when self-care should stay gentle.
For self-care, the chart is best used as a five-minute route across the whole foot rather than as a reason to dig into one painful dot. This simple framing respects the reader's real need without overstating what the evidence can support.
Evidence and Limits
Evidence for foot reflexology chart needs cautious interpretation. NCCIH describes reflexology as pressure applied to points on the feet or hands and notes that claims about healing specific body parts have not been proven. That distinction shapes how the findings below are interpreted.
Chart systems come from reflexology tradition, not modern anatomical proof that organs are projected into the feet. The right editorial move is not to erase tradition, but to label it accurately. Reflexology maps are traditional therapeutic maps. They are not anatomical scans, lab tests, or diagnostic images.
Avoid telling readers that a tender liver zone proves liver disease or that a sore sinus point confirms a sinus condition. Readers can still value the practice when the page explains touch, relaxation, client experience, and safety with precision.
Reviewed July 16, 2026
The 2026 Safety Update for Reading a Foot Chart
No recent clinical guideline validates reflexology charts as diagnostic maps. The most relevant current development is the 2026 American Diabetes Association standard for neuropathy and foot care. It emphasizes skin inspection, neurological assessment, vascular assessment, and testing for loss of protective sensation. Those are clinical foot checks; they are not substitutes for, or outcomes of, reading a reflexology chart.
This distinction matters because up to half of diabetic peripheral neuropathy cases may be asymptomatic. A person can have reduced protective sensation without recognizing the risk, while a chart user may interpret an unusual feeling as a reflex response. The safer rule is to pause when sensation is absent, burning, electric, unexpectedly weak, or different between feet.
Use the chart to organize sequence and communication: toes, ball, arch, heel, medial edge, and lateral edge. Use ordinary observation to decide whether touch is appropriate. Tenderness may change pressure and pacing, but redness, warmth, a wound, swelling, color change, or numbness changes the safety decision and may require professional assessment.
What to do with this update
- Orient the feet and broad zones before looking for small named points.
- Record sensation in neutral language such as tender, numb, warm, or sensitive.
- Refer unexplained skin, nerve, or circulation changes instead of assigning them to an organ zone.
Safety, Contraindications, and Referral
Chart users must be especially cautious when the foot has numbness, neuropathy, wounds, swelling, recent injury, or fragile skin. This safety section should be visible in the article, not hidden in a disclaimer footer.
Before using foot reflexology chart, avoid pressure over open wounds, ulcers, burns, active infection, suspected fracture, acute injury, unexplained severe pain, or sudden swelling. Use extra caution with diabetes, neuropathy, vascular disease, fragile skin, anticoagulant use, immune suppression, cancer treatment, pregnancy, and older adults.
Red flags when considering foot reflexology chart include fever, spreading redness, chest symptoms, shortness of breath, new numbness, weakness, loss of balance, calf pain, one-sided swelling, non-healing wounds, or symptoms that are severe, progressive, or unexplained. These are referral signs, not reflexology challenges.
Practical Routine or Session Structure
Start a foot reflexology chart session with intake. Ask about the goal, pressure preference, injuries, current symptoms, medical risk factors, and areas to avoid. In a professional setting, this can be brief but it should never disappear.
Before applying pressure in a foot reflexology chart session, inspect the feet or hands for wounds, swelling, skin or color change, temperature difference, bruising, callus, fungal signs, and visible discomfort. The safest technique is the one adapted to what is actually in front of you.
For this specific topic, a practical sequence is: warm the area, use orienting the left and right foot, add reading horizontal bands, work slowly through the most relevant zones, ask for feedback, then close with broad calming contact. Keep the session short enough that the reader finishes relaxed rather than sore.
After foot reflexology chart, keep aftercare modest: drink water if desired, notice soreness, avoid aggressive self-treatment, inspect the feet if there is medical risk, and seek care if unusual symptoms appear. A reaction does not prove that toxins are leaving the body.
Recommended Reading Path
After this page, the natural next steps are the pressure-points article, the how-to article, and the main foot reflexology pillar.
Frequently Asked Questions
What is the first thing to learn on a chart?
Learn orientation: left foot, right foot, toes, heel, medial edge, and lateral edge.
Are left and right foot charts different?
Yes. Many zones are bilateral, but some traditional maps place organs or pathways more strongly on one side.
Does chart tenderness diagnose illness?
No. Tenderness can guide pressure and pacing, but it cannot diagnose a medical condition.
How hard should I press?
Use light to moderate pressure. A chart is not permission to force painful points.
Why do charts vary?
Different reflexology schools use different map traditions, so broad regions are more reliable than tiny isolated dots.
Scientific, Medical, Therapeutic, and Book References
Online references
- NCCIH: Reflexology. Evidence overview and safety framing for reflexology.
- NCBI Bookshelf: Foot Fascia Anatomy. Anatomy of plantar fascia, compartments, blood supply, and innervation.
- NCBI Bookshelf: Foot Nerves. Peripheral nerve anatomy relevant to foot sensation and referral.
- NIDDK: Diabetic Neuropathy. Medical context for reduced sensation, nerve symptoms, and foot risk.
- ADA Standards of Care in Diabetes 2026: Neuropathy and Foot Care. Current clinical recommendations for neuropathy screening, protective sensation, daily inspection, and high-risk foot referral.
Book references
- Ingham, E. Stories the Feet Can Tell Thru Reflexology. Historical reflexology reference.
- Byers, D. Better Health with Foot Reflexology. International Institute of Reflexology.
- Dougans, I. The Complete Illustrated Guide to Reflexology. Reflex map and practice reference.
- Marquardt, H. Reflexotherapy of the Feet. Professional reflex-zone therapy reference.